At its best, sewing is a fun and relaxing activity that allows you to dive into a sewing project and express your creativity. However, all of that can go right out the window if your sewing machine suddenly stops stitching properly.
Whether it’s your sewing machine bobbins, a bent needle that’s altering your stitch length, an unresponsive presser foot that’s skipping stitches, or a knotted bobbin thread, there are a number of problems you can have while sewing.
Unfortunately, even the best sewing machines will run into problems every now and again. With so many moving internal and external parts, these intricate machines are susceptible to all kinds of issues. While some problems result from mistakes made by the operator, others are simply the result of regular wear and tear on the machine itself.
To help you avoid the frustration of trying to use a sewing machine that will not stitch, we have provided this helpful guide of the top ten sewing machine troubleshooting tips! Before you take your sewing machine to the repair shop, or contact the manufacturer’s customer service line, use the following tips to see if you can address the problem yourself!
1. Clean Your Sewing Machine Inside and Out
No matter how often they are used, sewing machines need to be cleaned on a regular basis. Every time you use your sewing machine, lint, dust, loose thread, and other types of debris can get caught on the inside, which can clog up the delicate internal mechanisms.
 No matter what type of trouble you are having with your sewing machine, you should always start by giving your machine a thorough cleaning. Check the needle plate, the bobbin winder, the hand wheel, and the bobbin case for any loose thread.
Numerous problems are caused by debris getting caught inside the working parts of your sewing machine and even unrelated issues can become worse if the machine is dirty. Simply brushing away lint and dust from your sewing machine each and every time you use it is a great way to prevent a whole host of issues from occurring in the first place.
How to Clean Your Sewing Machine:
Start by unplugging your machine. Once you are certain your machine is off and unplugged, you can prepare for cleaning by removing the throat plate. You can read the instruction manual for your specific machine to learn how to remove the throat plate. This is important because it is where most of the debris will get trapped.
Once the throat plate is removed, use a nylon brush to sweep out all the crevasses. While it might be tempting, avoid using compressed air, as this will often just force dust and debris deeper inside the machine.
Once everything looks clean, you can reattach the throat plate and put everything else back into position. Turn your sewing machine on and see if it will now make a straight stitch correctly.
2. Replace the Needle
One of the most common mistakes beginners make is not changing their sewing needles often enough. As you use your sewing machine, the needle can become damaged and dull. If the needle gets too bad, it will struggle to penetrate the fabric you are working with.
Luckily, sewing needles are very affordable and relatively easy to replace. Consider buying a bulk pack of sewing needles that are appropriate for your machine and the types of fabrics you typically work with. It is a good idea to change your needle after you complete each project, but if you notice your machine is struggling to create stitches properly at any time, you can try replacing the needle. In many cases, this alone will fix the issue.
3. Make Sure You Are Using the Right Needle for the Fabric You are Stitching
Just as it is important to replace your sewing machine needles on a regular basis, it is also important to make sure you are using the correct type of needle for the specific type of fabric you are working with.
While a high-quality universal needle will work for most types of fabrics, some of the thicker and heavier fabrics require much more durable needles. If the needle cannot pierce the fabric you are working on, it will not be able to drive the thread down, which means your sewing machine will not be able to complete the stitch.
Just by ensuring you are using the correct type of needle for the particular fabric you are working on, you can address one of the major issues that prevents sewing machines from being able to stitch.
4. Make Sure You are Using High-Quality Thread

No matter what type of sewing machine you are using, it will function better if you are using a high-quality thread. While low-quality thread might not be the direct reason why your sewing machine is not stitching, it can lead to serious problems over time.
Poor quality thread will split, rip, and shed fibers, which can clog up your machine. By investing in better threads, you can avoid running into problems down the road.
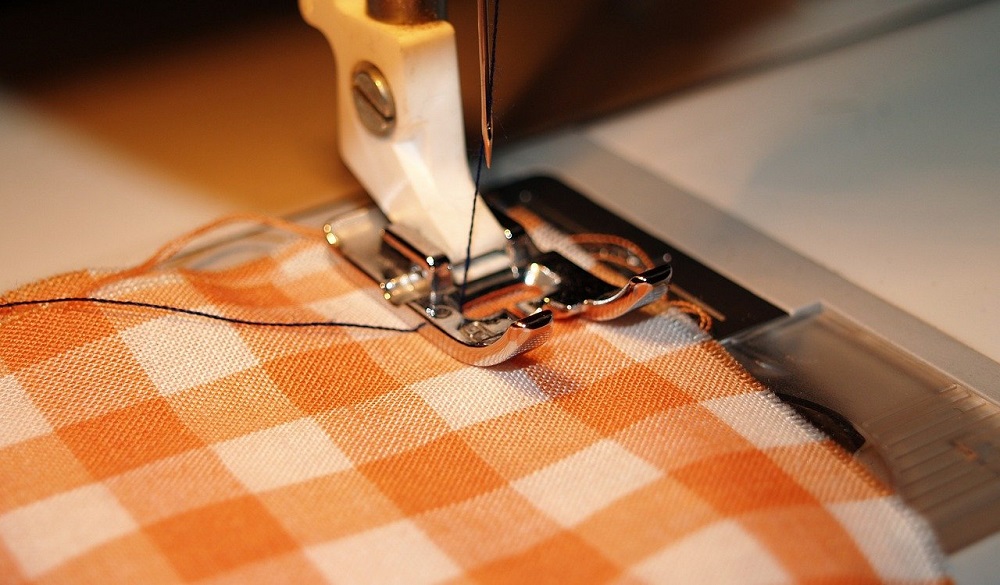
5. Check for Fabric Feeding Issues
If your sewing machine cannot feed fabric towards the needle properly, it will not be able to stitch effectively. Check to make sure that the feed dog is operating properly by watching it as you attempt to stitch a piece of test fabric.
If you are encountering a feed dog issue, remove the throat plate and clean out all of the dust and debris. Once finished, consult your owner’s manual and use that information to adjust the feed dog settings.
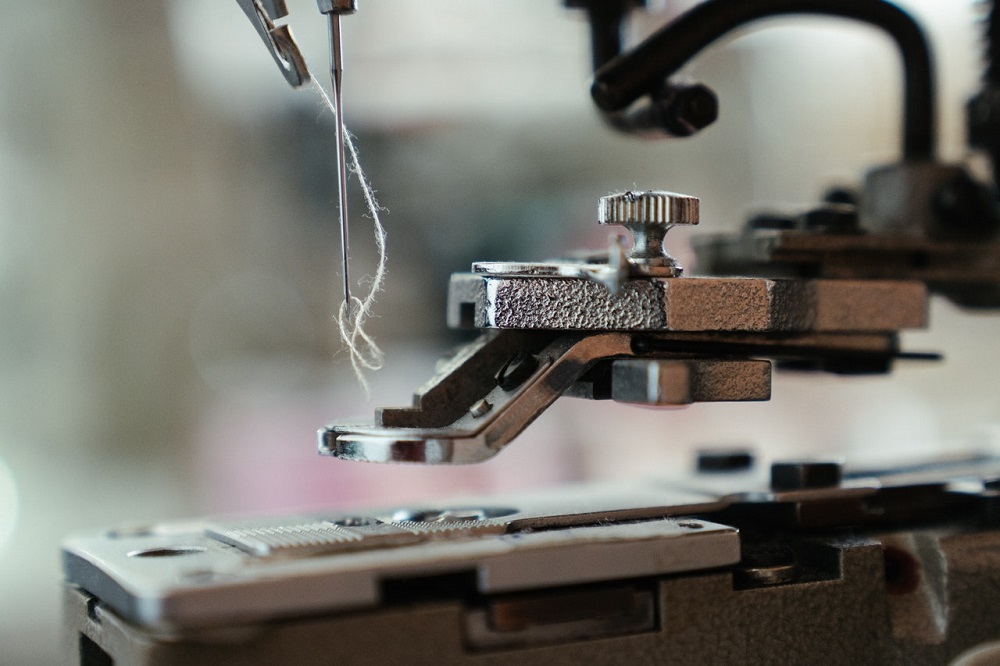
6. Look for Thread Jams
If your sewing machine is not stitching, you could be encountering a jamming issue. Jams are common, especially if you have been working for a long stretch of time with poor-quality thread.
When removing a thread jam, always start by first removing the fabric you were working on. You should always do this gently, as tearing the fabric out too quickly could make the problem worse. Also make sure you use a pair of scissors or a seam ripper to cut away the threads before you pull it out of the machine.
From there, remove any jammed thread you can see. Again, pull the jammed thread out delicately, as you do not want to make the issue worse. At this point, you can remove the bobbin and throat plate if you cannot reach the full jam.
After the jam is fully removed, you can rethread the sewing machine and try out some test stitches on a scrap piece of light fabric.
7. Try Adjusting the Thread Tension
Adjusting the thread tension will make sure that your machine is able to form strong and balanced stitches. If your sewing machine’s thread tension is off, it could be the reason why it is struggling with stitching.
You always want to start by adjusting the top needle tension. Typically, this is controlled with a simple tension control knob, or, if you are using a computerized machine, a digital control. From there, you can adjust the bobbin tension.
Some of the newer computerized sewing machines have automatic thread tension controls, which use sensors that measure the thickness of the fabric and the thread being used. If you own one of these machines, adjusting the thread tension is pretty much hands-off. However, if you have an older machine, manually adjusting the thread tension might solve some of the problems your machine is having.
Adjusting thread tension regularly is a good habit to get into, as a machine that is operating at the correct tension will almost always produce better results.
8. Make Sure Your Sewing Machine is Being Oiled Properly
Not only do sewing machines need to be cleaned on a regular basis, they need to be oiled fairly regularly too. Ensuring your sewing machine is well-oiled will help all of the internal parts move and function as they should.
Sewing machine oil helps reduce the wear and tear that occurs inside your sewing machine as it is operating. Ideally, your sewing machine would be oiled after every major sewing project, as this will cut down on unnecessary friction and make sure your machine is working safely and effectively.
If you use your sewing machine on a daily basis, you should aim to oil it at least two or three times per week. Oiling a sewing machine is not nearly as difficult as it sounds. Simply apply a tiny amount of manufacturer-recommended sewing machine oil to the areas outlined in your sewing machine’s instruction manual.
You should always oil your machine after you have cleaned it. After you have cleaned and oiled your sewing machine several times, it will almost become a habit. Oiling your machine can address many of the issues that cause machines to stop stitching and it will prolong the overall lifespan of your machine!
9. Make Sure the Fabric You Are Using is Not Too Thick
While it sounds fairly straightforward, many sewing machine technical issues are caused by using a fabric that is too thick for the needle height. Luckily, sewing machine needles almost always have adjustable heights, so you can quickly address the issue if it is causing problems.
While this sounds like a fairly obvious issue, it is an easy mistake to make. If your sewing machine has a built-in needle threader, you can always check to make sure that it actually lines up with the eye of the needle. If it does not, there is a good chance that the needle is not high enough.
If the fabric you are using does not fit underneath the needle when it is sitting at its resting point, that is another clear sign that you will have to adjust your needle, or switch to a fabric that is not quite so thick.
10. Know When to Take Your Sewing Machine to a Professional
If you are really stumped and cannot figure out why your sewing machine is not stitching, it might be time to take it to a professional. The truth is, some sewing machine issues cannot be fixed at home. Rather than get overly frustrated and throw your sewing machine away, take it in for professional repairs.
Far too many people choose to buy a new machine, rather than fix one that is not functioning properly. Given that sewing machines are now more affordable than ever before, it is understandable why many people opt for a shiny new machine, instead of paying to get their older model fixed, but this is a waste. Just because you cannot figure it out, does not mean that your sewing machine belongs in the trash.
Final Words
It is always a good idea to thoroughly read your sewing machine’s instruction manual when you first purchase it. Even if you are not currently facing any issues, knowing how to quickly and effectively address them can prevent plenty of frustration in the future. Most instruction manuals also go over sewing machine maintenance in great detail, which is just as important as knowing how to repair your machine.
By practicing a proper maintenance routine, you will avoid issues in the future, so you and your sewing machine can enjoy stitching and sewing for years to come!


