Setting up a sewing machine is far less complicated than you would expect. Learning the basics about sewing machines can take a little bit of time and practice. If you follow the right steps, you will be sewing like a pro in no time.
To make things a little bit easier for you, we will go over all the steps you need to follow if you want to set up your new sewing machine like a professional. While most of this information will become second nature once you have gained some experience with your particular sewing machine, it is important to start slow and get the hang of things by following a few simple steps.
Read the Instruction Manual Before You Get Started
While this may sound a little bit obvious, you must read through the instruction manual that would have come packaged with your sewing machine. While most follow the same basic mechanics, each sewing machine is different from the rest, so it is worth familiarizing yourself with your specific machine.
 Reading through the manual will help figure out the location of all of the different stitch buttons and become familiar with how you thread your machine and its sewing needle. Most instruction manuals will also explain useful tips to help you operate that machine faster and more efficiently.
What if You Do Not Have an Instruction Manual?
Since most sewing machines are designed to last, it is not unusual for people to buy them second-hand. You have been gifted a used machine or bought a previously owned one, and you might not have an instruction manual.
Luckily, most sewing machine manufacturers upload digital versions of their instruction manuals online. If you know the brand name and the model number for your machine, you should be able to find a copy of the instruction manual through the manufacturer’s website. Most will offer them in PDF format, so you can simply print them off if you would like a hard copy.
Basic Steps for Setting Up Your Sewing Machine
Now that you have familiarized yourself with the information in the instruction manual, you are ready to get started with setting up your machine.
Connect the Foot Pedal to the Machine:
One of the first steps you should take after you have placed your sewing machine on a stable work surface is to connect the foot pedal to the machine itself. The foot pedal is used to control the speed at which your machine will stitch, so it is a critical piece of equipment.
Locate the Power Switch:
Since just about any sewing machine you will use today runs off electricity, they will have the main power switch. On most sewing machines, the power switch is on the right-hand side of the machine.
After plugging in the power cord into a wall outlet and turning on the power, a power indicator light should turn on. If you own a more complicated and advanced computerized machine, the LCD screen might activate when you flick the power switch.
Locate a New Needle and the Thread You Will Be Using:
If you purchased or inherited a used machine, start with a new needle. Since a damaged or bent sewing needle can ruin the project you are working on it is rarely worth risking using an older needle, especially given how inexpensive sewing machine needles are.
You will want to start with a 70/10 or 80/12 universal sewing machine needle, especially if you plan on working with medium-weight fabrics. These are the standard types of needles you will use for most of your sewing tasks, so it is worth purchasing a pack of them.
If you purchased your sewing machine new, it should come with at least one needle you can use to get started.
In terms of thread, you will want to start with decent quality, all-purpose thread. Again, this is the type of thread you will end up using for all of your non-specialized sewing projects, so it is a good idea to get comfortable using it right from the start.
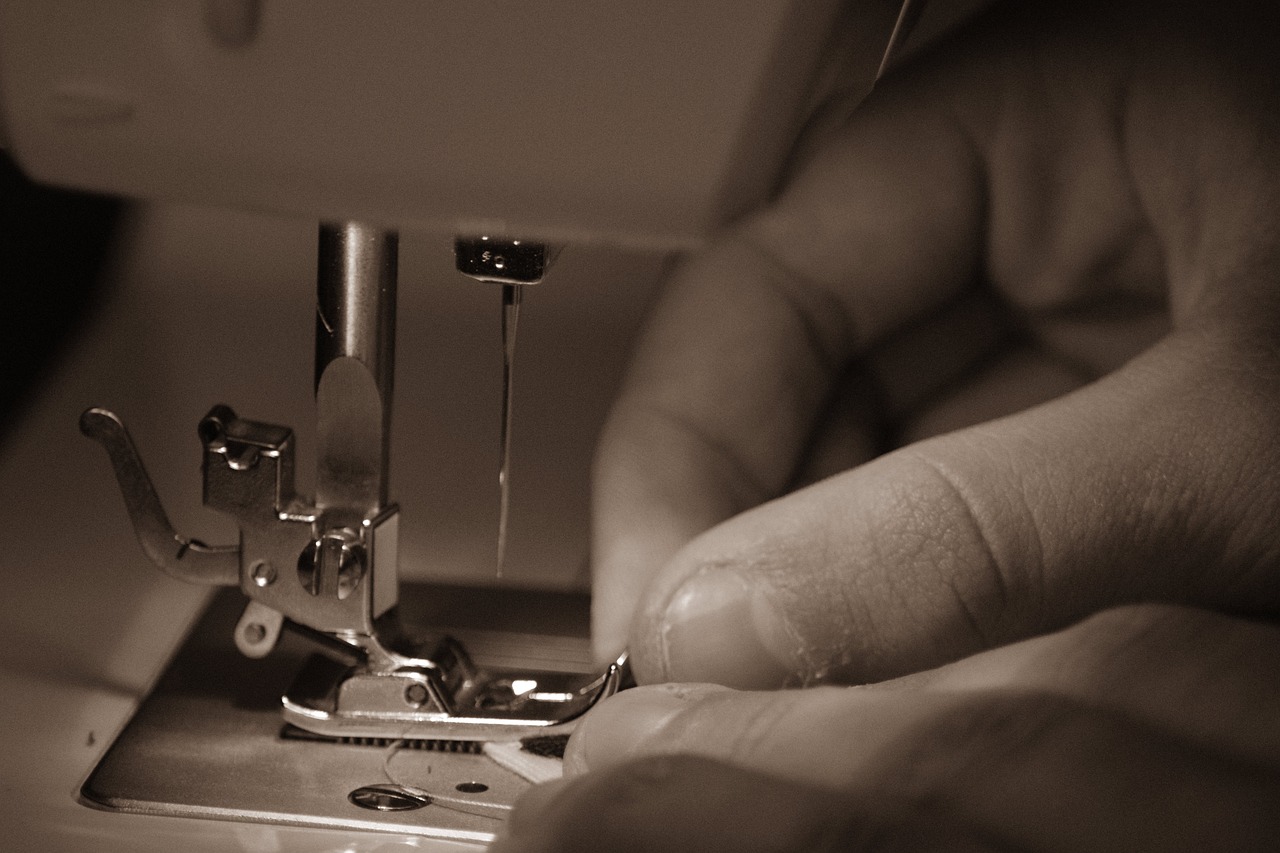 Remember, you only need to use a new needle for the first time you use your machine. From that point, inspect the needle before each use and decide whether or not to replace it or keep using it based on its condition.
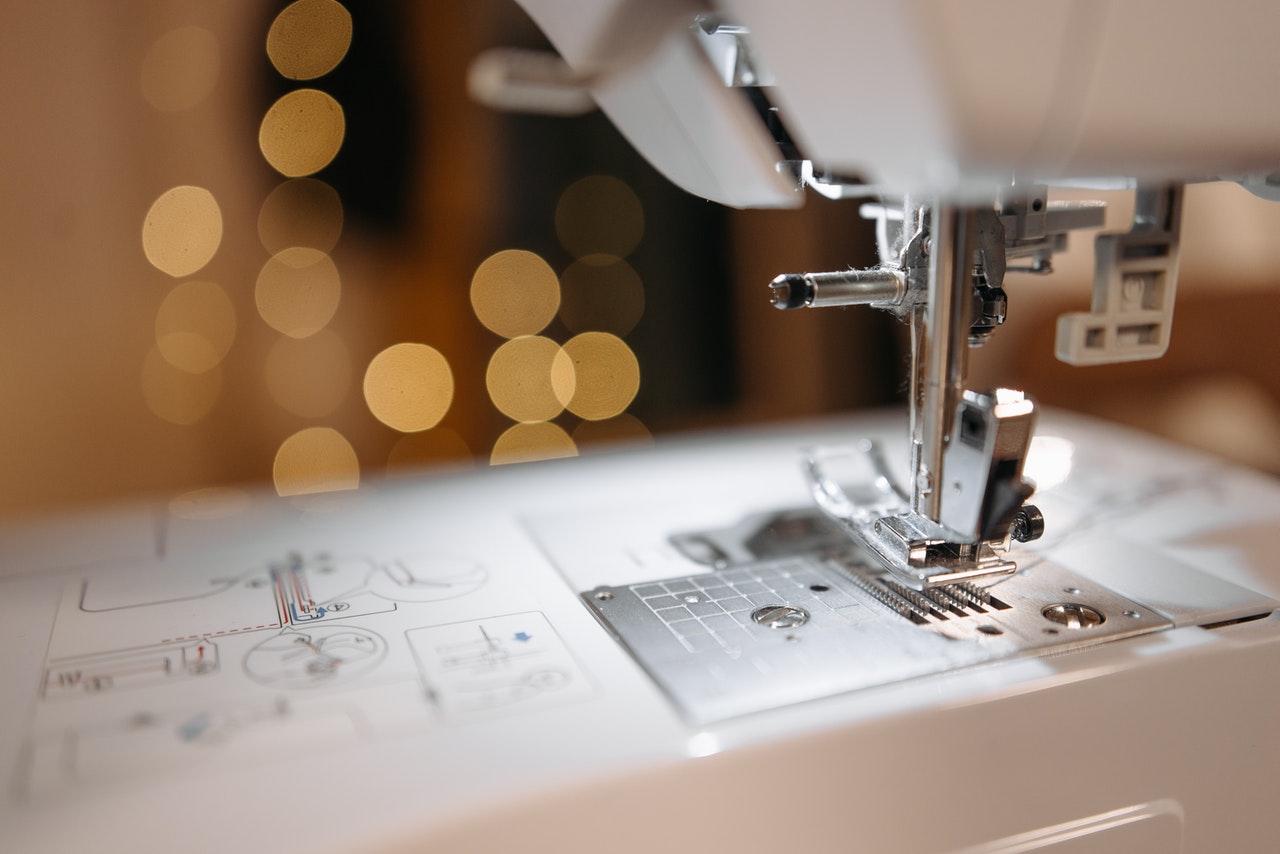
Wind the Bobbin and Thread Your Machine:
After you have inserted your new needle, you can move to the bobbin and threading steps.
The bobbin is a small spool of thread that loads underneath the needle. When sewing, this thread comes up through the base and connects with the thread on your needle. This process is what forms a stitch.
- To wind the bobbin thread, insert it into the hole in your spool and wind it several times around the bobbin. From there, place your bobbin thread on the larger spool and apply slight pressure on the foot pedal, which will make the bobbin wind with thread. Once the bobbin is threaded, you will load it into the bobbin case, which sits below your needle.
- To thread the top part of your machine, locate the larger spool pin located at the top and place the thread on it. Each machine is different, but there are indicators to show you where the thread goes. Then, pull a piece of thread away from the spool and wind it through the appropriate slots until it is down against the needle. How you thread the needle will depend on whether or not your machine has an automatic needle threader, so consult your instruction manual to know how this is done.
If this sounds confusing, do not worry, it is far less complicated than it sounds. Simply consult your instruction manual for a more detailed breakdown of how to wind the bobbin and thread your specific machine.
Locate the Straight Stitch Option:
Whether using a computerized machine or a more basic one with a stitch dial, the first stitch you will want to try out is the straight stitch. The straight stitch is one of the stitches you will use for most of your sewing projects, as it is a fairly simple yet incredibly durable stitch that you can complete quickly and efficiently.
Most sewing machine stitch guides indicate the straight stitch option with straight lines facing the same direction. The straight stitch also tends to be the first, or one of the first, stitch options listed, so it is easy to locate.
At this point, you can reach for a scrap piece of fabric and try out a few simple straight stitches to see that everything is set up properly, and your sewing machine is functioning as it should.
Locate the Reverse Button:
The reverse function is useful, so it is worth familiarizing yourself with where the reverse knob, button, or dial is located. Not only does it help in correcting potential mistakes, the reverse function is helpful for backstitching, which allows you to go over an existing stitch to make it stronger.
Most machines will use a symbol that looks like the U-Turn arrow used on road signs. If you still cannot find it, consult your instruction manual.
Familiarize Yourself with Your Machine’s Thread Tension Settings:
Now that you have set up your machine, familiarize yourself with the various thread tension settings. Most allow users to control thread tension settings with a dial located towards the back of the machine.
It is also worth noting that most newer sewing machines use automatic thread tension adjustments, so they are easy and convenient to control. Some old machines may require a screwdriver or a hex key to adjust the bobbin holder. Again, the instruction manual explains how you adjust and select thread tension settings.
 Using Your Machine for the First Time
 Using Your Machine for the First Time
Once you have moved through the steps outlined above, your machine should be just about ready to use.
The best advice for using a new machine for the first time, especially if you are new to sewing, is to start slow and practice on scrap pieces of fabric. Even for those with advanced sewing skills, using a new machine can be challenging. Each reacts differently to the amount of pressure you apply to the foot pedal and the specific type of fabric you are working with.
Practice all of the basic skills using scrap pieces of fabric, like old and unwanted T-shirts. Once you feel comfortable using your machine and know where all of the setting buttons are, you can tackle your first sewing project. Again, start with a simple project and move onto more advanced tasks as your skills and experience level grow.
Now that you know how to set up a sewing machine, the most important thing of all is to enjoy yourself!


