The average sewer generally feels two ways about using a sewing machine threader – you either love it, or you hate it! The parts are so fine, that they can be exceptionally difficult to see, and more challenging to thread. We adore the threader when it works and want to throw the machine out the window when trying to thread it becomes tedious.
Needle threaders for a sewing machine require a continuous, light rhythm to work optimally. If the process is rushed, the thread shoved in too soon, you push too hard, or your timing is off, the machine won’t work.
Threaders are delicate and tiny. Any bending throws off the entire machine. The needle will not be able to meet the bobbin, and it will simply not thread properly. This leaves users very frustrated.
Our Top Five Tips Include…
Before beginning, check that the needle threader isn’t bent. If it is, it won’t work. The threader may need realignment or replaced before it can be properly used.
Tip One: Cycle the Needle One Time
The needle should be at its highest position before the threader is used. Computerized sewing machines require touching the needle up, needle down button twice. Allow the machine to bring the needle to its highest position.
Mechanical machines can accomplish this by rotating the handwheel so the needle reaches the top of the cycle.
Tip Two: The Order of Threading the Machine is Important
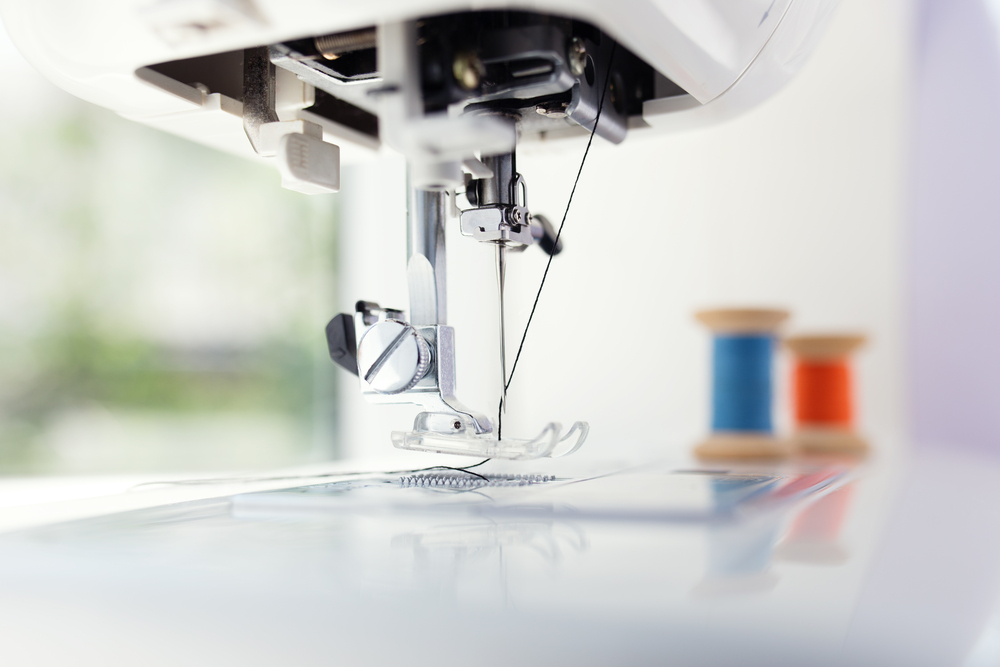
There is a small metal hook on a needle threader. The thread needs to travel through the eye of the needle before being placed into the threader. If it is placed into the needle threader before the hook, the thread won’t be caught.
Tip Three: Let the Thread Pull Out Properly
New users often don’t let the thread pull out of their hand which is holding on to the end of the thread. By holding it too tightly, the needle threader can’t pull the thread through the eye of the needle.
Users must have a light touch when working with the machine. Hold it with a bit of resistance, but not too tightly.
Tip Four: Lowering the Presser Foot
By lowering the presser foot, your fingers will have a bit more space to properly operate the needle threader. Lowering the presser foot engages the top tension, so that the thread doesn’t pull too easily.
Extra resistance helps to steady the thread while it is being guided into the threader.
Tip Five: The Thread Should be Lifted Up
Gently lift the thread upwards instead of pushing it to the back. By holding it up, it will help the needle threader’s hook to catch the thread prior to pulling it into the needle’s eye.
Bonus Tip: Look at the Height of the Needle
If the needle has been replaced, the threader can determine if it was not inserted properly in the shaft. Should the needle threader head not align with the eye, loosen the needle screw. Then lift the needle higher.
A good back up is a hand-held needle threader. Only use it on machines without a built-in threader, when your on-board threader won’t work, or on a serger. However, once a person becomes familiar with a needle threader, it is difficult to return to doing things the “old-fashioned” way.
If it still doesn’t work, a professional may need to be consulted. The sewing machine may need to be realigned or the needle threader may require replacing. However, this is still better over doing it by hand.
Another option is to buy a self-threading sewing machine. Individuals with bad dexterity, poor eyesight, or who hate threading sewing machines benefit from these types of machines. After all, why go through the hassle of threading a machine when it can do it for you? It makes the entire process hassle free and simple.
Self-threading sewing machines come with an automatic needle threader. All the person needs to do is touch its lever, wrap the thread around the level, and release it. The machine threads the needle for you.
If you are interested in some ideal machines, look at the following:
Brother CS7000X
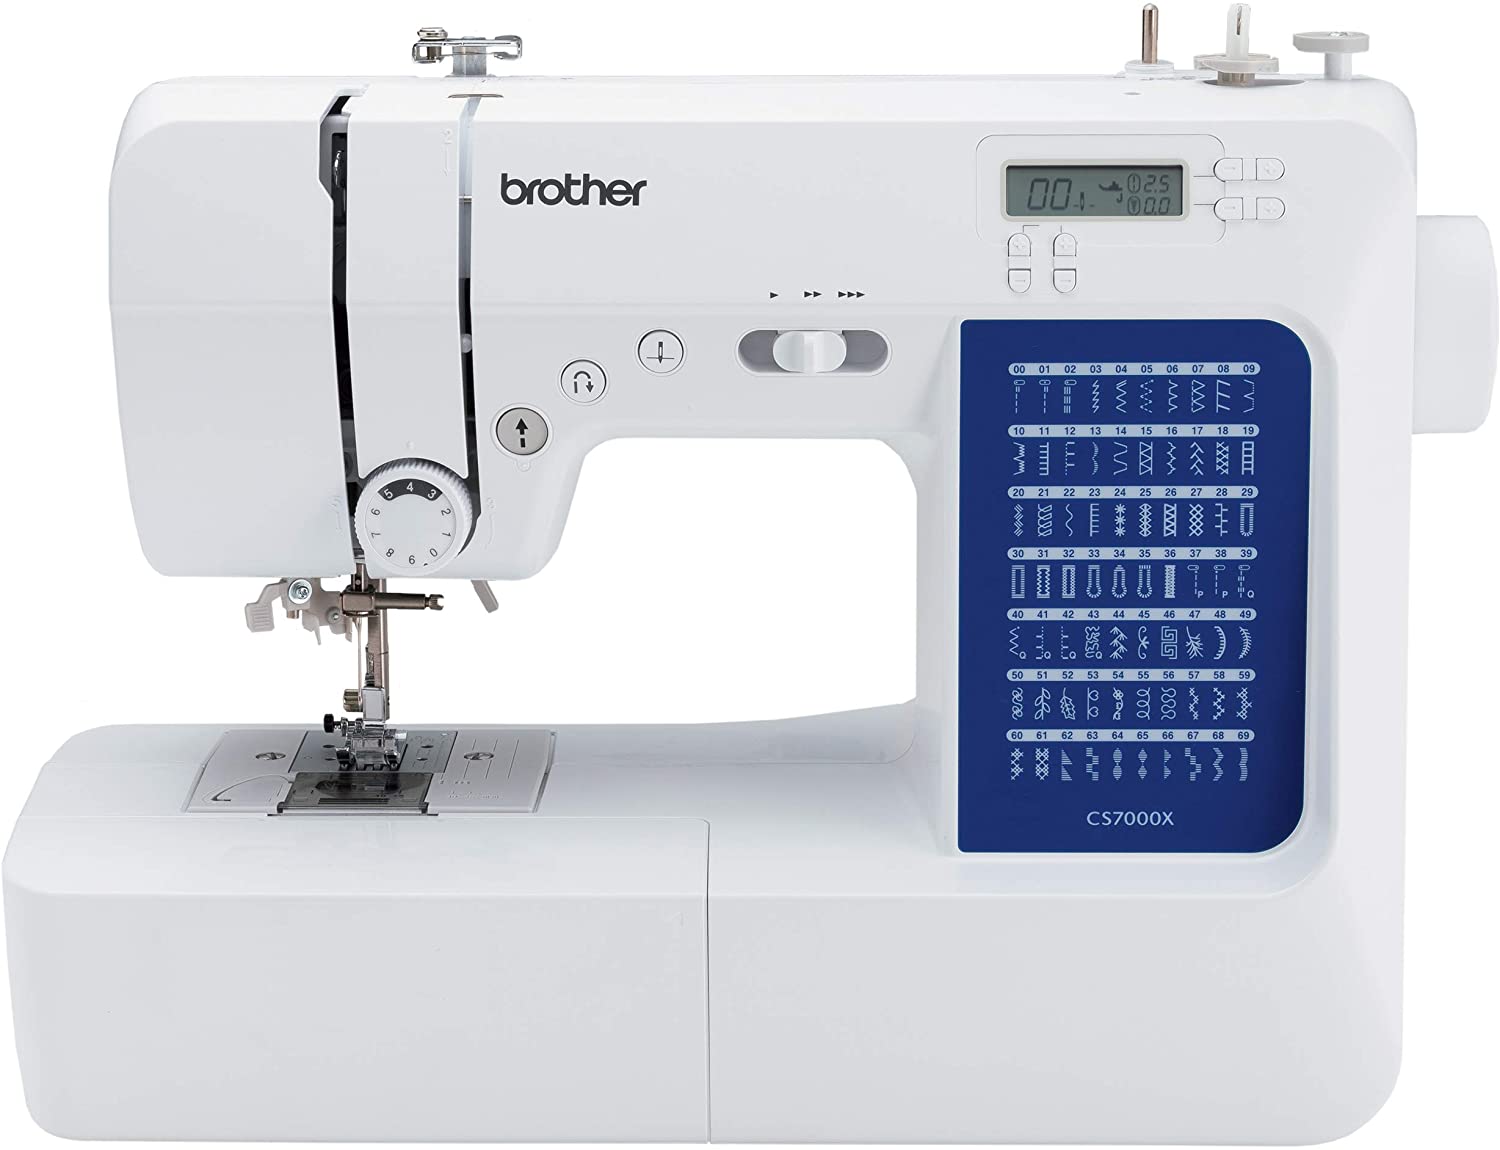
This machine is computerized. It does sewing and quilting. This sewing machine has 70 built-in stitches which includes ones that are quilting, heirloom, decorative, and utility stitch function. It has seven one-step automatic size buttonholes.
The automatic needle threader pushes thread through the needle. The top bobbin is jam resistant and is easy to load. The bobbin will always remain in place. It has a durable metal frame enabling users to do any project. It also allows for even lines and cleaner stitches.
The only drawback is that some users experience error messages after a few months.
Singer 3232 Sewing Machine

The Singer 3232 is portable and has 32 stitches. It features a built-in needle threader, a one-step buttonhole, and a durable metal frame. This machine will have the needle threaded in a second. It is done effortlessly.
It has a maximum speed of 750 stitches per minute. Projects can be completed very easily and quickly. This machine was designed to sew through thick fabrics, and the presser foot can be positioned higher for thicker or several layers of material. It also comes with an automatic reverse.
Using a sewing machine needle threader shouldn’t be hard once you have mastered the task. If you are just learning, do not rush through the cycle. Take your time to master it, and you will avoid the frustrations that accompany a needle that is not threaded correctly. Never rush the job.
For those well-acquainted with sewing, using a needle threader can be an arduous task. It is not easy to put a thread through a small hole! However, we have come up with over five tips to help guide you through this process, and how to overcome challenges.
If threading the needle threader is just too aggravating, then invest in a computerized sewing machine. They take all of the guesswork out of using a sewing machine needle threader.


